For the first layer of sanding- I used the fine sponge. The factory makeup and the shine instantly disappeared with no problems. The ultra-fine paper naturally helps you tackle the fine details. Wet your ultra fine paper and work in small circles, making sure you don't leave any lines or scuffs. This was such an easy process and now her face is more lifelike with a matte finish. The next step with be adding new makeup.
Showing posts with label blythe doll. Show all posts
Saturday, July 2, 2011
Getting Rid Of The Shine
Sunday, June 19, 2011
Shutterbug Sunday: Posing Dolls
To pose a doll you need to prop her up against something and do your best to hide the item. So, it should look as if the doll is standing up on her own! The best items to use are either chopsticks or skewers. I had a ton of BBQ skewers left over from a gathering and pulled mine out. Instantly my girl came to life.
You dig the item into the ground and then strategically prop the doll's head against the other end. Some women use photoshop to get rid of any sign of sticks. I prefer to strategically pose and not have to worry about post editing.
When working on a surface in which you can't dig the stick into the ground, try to use a pencil! This is such an easy solution to help your doll come alive!
Labels:
blythe doll,
shutterbug sunday
Monday, June 13, 2011
Adventures In Sewing
One of the aspects that attracted me to making over the dolls was the cute little dresses they wear. I thought how hard could it be for me to sew a couple of dresses. Well, I realize it is a skill like any other that needs to be studied, practiced and repeated over and over to get it right. Above you see my first attempt at sewing a very small doll dress.
Blythe dolls fit "Skipper doll" size clothing and I found a pattern on Ebay and anxiously waited for it to come in the mail. I opened it up and it looked like a foreign language. Words like bodice and with the grain made no sense to me- so I put the pattern down for another day. Finally I had several hours to sew- and figured I could make a couple of dresses. I started with the easiest pattern- a whopping 4 steps- how hard could that be? I figured I'd be done with it in under an hour and moving on to a more difficult pattern. HA!
FOUR hours later I was finally trying to put the dress on my little doll. Yes- 4 steps, 4 hours! Cutting the pattern was no problem. I found it a real challenge to actually sew on such a small scale. Folding over 1/8 inch of fabric and then trying to sew a straight line that was no longer than an inch was virtually impossible.
I ended up hand sewing the most challenging parts of this dress, around the arms and neck line. I later learned that there is a wax that doesn't leave residue on the fabric, that I could use to hold the hem I would need to sew on. I still wonder how I could sew such a short distance.
This has been a humbling experience for me. I admit- I haven't even looked at my machine since my four hour adventure. I do hope to get a lesson or two from someone crafty in the sewing world. I really do want to learn how to sew. Right now- I'm just thankful the dress is wearable-- even if the most interesting side of the dress is the back!
Tuesday, June 7, 2011
How To Give A Doll A Perm
Today, I'm going to teach you how to give a Blythe doll perm. Please note- I am not an expert at this- and if you mess up your dolly, please don't say Crafty Girl told me to do it this way. Hehe-- These are just my experiences- they seem to have turned out great!
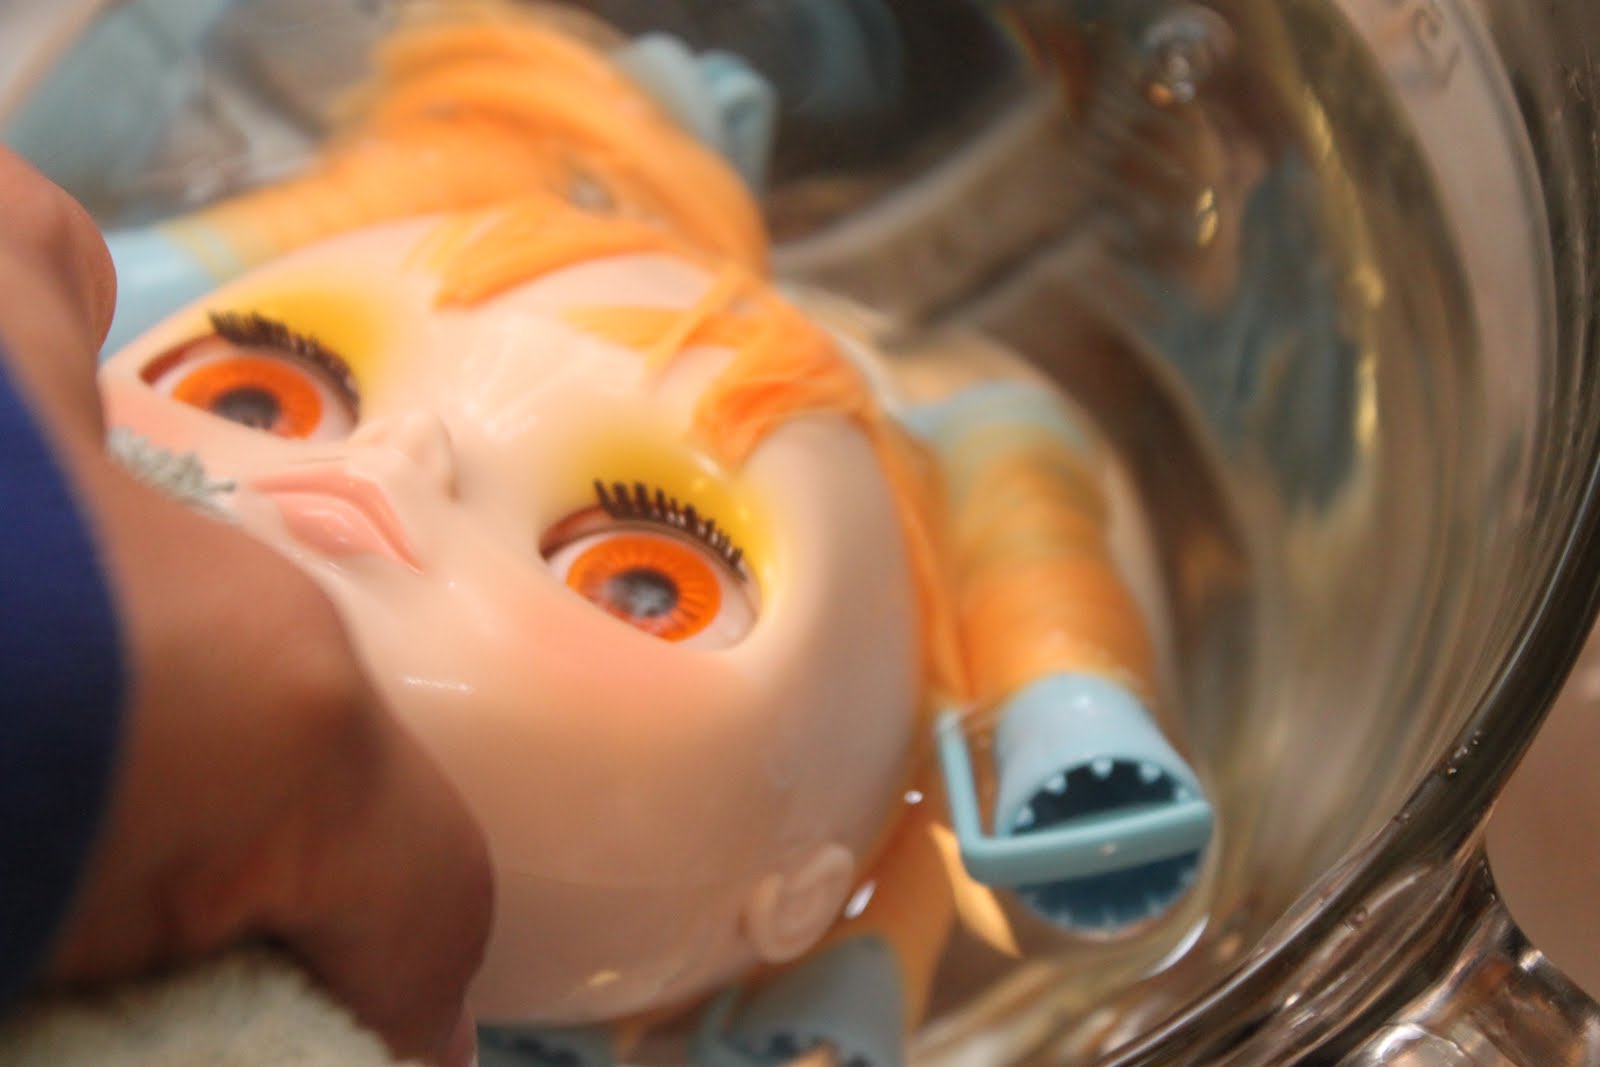
I decided my little orange girl needed some curl. So, I took some perm curlers and, after wetting her hair, I proceeded to roll her hair up into the curlers. Some instructional pieces I have seen show foam curlers and I was a little worried my perm would go awry. In the end, I don't think the type of curler mattered much.
Time to cool off. Now, fill your pan up with very cold water and dunk your doll's head into the cold water a couple times to seal the curl. Make sure the hair doesn't fall out of the curlers or you'll get stuck with stray straight hairs.
Better to practice on a doll than your own head!!
The end result for my girl was fabulous. I loved it. She immediately became a more mature doll! One word of advice- keep your newly permed girl in a cool dry place. Sadly, we've had some very humid weather here and my air conditioner went out-- poor Chipper's hair is now a limp curl and I need to do it over to get her back to her glory. Do not use human hair products on your doll- especially hair spray because I understand it messes up the hair. Have fun!!
Labels:
blythe doll,
hair,
makeover
Monday, May 30, 2011
Photo Contest Finalist!
So, I have to admit. I've been all wrapped up in Blythe Doll world and I'm so not in the mood to make a craft that is not related to her. I sewed an outfit for one of my dolls. The simple 4-step pattern took me four hours! I need to learn how to sew. I'm customizing a doll from head to toe. If the eyelashes don't kill me, waiting for her eye chips to arrive will take me down.
The one aspect I have seen success with, thank goodness, is my photography. I love taking pictures of my girl. If you haven't become a Flicker follower for Crafty Life and Style- please do. I'm finally giving it some love, mostly Blythe picture love lately. Yesterday, I joined a Blythe Photo Challenge group. It was the final day of this month's challenge. At the last minute, I entered this picture in the contest.
The theme was Glamour. I thought this picture pretty much summed it up. I was one of five finalists selected for a public vote! Please click on over and vote. I would love your support and so would the other photographers!
The one aspect I have seen success with, thank goodness, is my photography. I love taking pictures of my girl. If you haven't become a Flicker follower for Crafty Life and Style- please do. I'm finally giving it some love, mostly Blythe picture love lately. Yesterday, I joined a Blythe Photo Challenge group. It was the final day of this month's challenge. At the last minute, I entered this picture in the contest.
The theme was Glamour. I thought this picture pretty much summed it up. I was one of five finalists selected for a public vote! Please click on over and vote. I would love your support and so would the other photographers!
Labels:
blythe doll,
contest,
photography
Wednesday, May 25, 2011
Lessons Learned From Blythe
Last week, I told you about my new obsession with Blythe dolls. The main attraction of this doll for many grown women is the opportunity to customize them. They make their wardrobe, give them new hair, take them apart, and paint them. Basically, it's called "sending them to the spa". Priding myself as a "Crafty Girl", I was immediately attracted to the idea. The price kept me from buying my first doll for almost a year.
Well, I gave in- and fell in deep. I have, let's just say, several of them. I researched and decided one of the girls just wasn't cute enough as is, and I "sent her to our home spa". I watched all of the videos and tutorials I could get my hands on. Then, I grabbed my screw driver and tried to get her apart. Within half an hour, I had posted a plea for help on a Blythe chat site because I couldn't get her open!
After an hour- I scalped her, pulled her eyes out, and broke a sweat doing it! I had hoped to show you at least part of my first Blythe doll makeover by now- but she's really in no shape to be shown. What I am learning most about this experience can be put in a list.
WHAT I AM LEARNING FROM BLYTHE:
1-Tutorials don't tell you everything (especially the bad and ugly!)
2- I need to get a steadier hand for fine detail- like lips
3- Patience needs to be exercised
4- I need to offer better tutorials when I do them- because I keep asking questions to the computer screen when I come across a, not so good, tutorial
5- Customizing dolls is a developed skill- and the experts are experts for a reason
Aside from all of the teachable moments I am coming across, I am enjoying the process. I will take you along for the ride. Right now- all I can show you is the ugly- cuz- that's where I am in the process.
Well, I gave in- and fell in deep. I have, let's just say, several of them. I researched and decided one of the girls just wasn't cute enough as is, and I "sent her to our home spa". I watched all of the videos and tutorials I could get my hands on. Then, I grabbed my screw driver and tried to get her apart. Within half an hour, I had posted a plea for help on a Blythe chat site because I couldn't get her open!
After an hour- I scalped her, pulled her eyes out, and broke a sweat doing it! I had hoped to show you at least part of my first Blythe doll makeover by now- but she's really in no shape to be shown. What I am learning most about this experience can be put in a list.
WHAT I AM LEARNING FROM BLYTHE:
1-Tutorials don't tell you everything (especially the bad and ugly!)
2- I need to get a steadier hand for fine detail- like lips
3- Patience needs to be exercised
4- I need to offer better tutorials when I do them- because I keep asking questions to the computer screen when I come across a, not so good, tutorial
5- Customizing dolls is a developed skill- and the experts are experts for a reason
Aside from all of the teachable moments I am coming across, I am enjoying the process. I will take you along for the ride. Right now- all I can show you is the ugly- cuz- that's where I am in the process.
Labels:
blythe doll,
customizing doll
Wednesday, May 18, 2011
Blythe: A Work Of Art
Remember I told you I've fallen in love with Blythe dolls? Well, here's a perfect reason why! This is Leila, a custom designed Blythe doll, by a wonderfully talented woman, who goes by the screen name Gbaby on the chat site called Blythe Kingdom. She was recently commissioned to make Leila and unfortunately, the owner has to sell her now. Oh, if I had the money- she's a dream doll!
Originally, she was a "Sunshine Holiday Tan Blythe doll" (to the left), but was transformed into this! She was given the theme - beach. She rerooted the dolls hair with mohair, dyed to a bleach blonde color, and styled straight. She changed the eyes - two pairs of hand painted chips by her, two pairs of Ana Karina chips. She also made the custom pulls (not seen) in the back of the doll that allow you to change the doll's eye colors.
As you can see, the eyelids are painted, the face looks like it is sun kissed with freckles. Really, it's perfect in my eyes. This is another form of art that I hope to learn sometime soon. Until then, I will just stare at Leila and dream.
Leila is for sale. The current bid on her is $800, as of Monday. Offers are being taken until Tuesday May 17th ~ 3pm California time. If you are interested please contact: bebe.bentley@yahoo.com Please be sure to tell her I sent you and that I'm a big fan of hers!!
Originally, she was a "Sunshine Holiday Tan Blythe doll" (to the left), but was transformed into this! She was given the theme - beach. She rerooted the dolls hair with mohair, dyed to a bleach blonde color, and styled straight. She changed the eyes - two pairs of hand painted chips by her, two pairs of Ana Karina chips. She also made the custom pulls (not seen) in the back of the doll that allow you to change the doll's eye colors.
As you can see, the eyelids are painted, the face looks like it is sun kissed with freckles. Really, it's perfect in my eyes. This is another form of art that I hope to learn sometime soon. Until then, I will just stare at Leila and dream.
Leila is for sale. The current bid on her is $800, as of Monday. Offers are being taken until Tuesday May 17th ~ 3pm California time. If you are interested please contact: bebe.bentley@yahoo.com Please be sure to tell her I sent you and that I'm a big fan of hers!!
Labels:
blythe doll,
costomizing,
dolls
Subscribe to:
Posts (Atom)