Showing posts with label foam. Show all posts

Monday, April 4, 2011

Wooden Roses

I love shopping at county fairs, just to see the fun things people create.  I was wandering through the vending booths of a small fair on a rainy day, a few years ago, when I came across a burst of color.

Under a dripping white tent, on a dark and gray day, I found a rainbow of roses.  The vendor told me she had made each bouquet with thin pedals of wood.  

Fascinated, I bought 60 of the wooden roses, figuring they'd live a lot longer than the real deal.  As I was taking pictures recently, for one of our Shutterbug Sunday blogs, I was compelled to rip one of those pretty pink roses to shreds.  I had to get to the core of this creation.  Here's what I found:

The center of the rose is an oval shaped chunk of foam.  There is a wrapped wire stem in the base of the foam, reinforced with glue.

The petals of thin wood appear to be lightly brushed with color on the edges, similar to inking paper with a pad.  Several small ovals of the wood are glued to the tip of the foam, all the way around.  Larger ovals of the wood shavings are glued on top of the smaller ones, totally covering the foam and shaping the rose.

The petals are simply green fabric, cut in a "U" shape and glued onto the base of the rose.

When finished, the wooden part of the rose actually looks fairly real from a short distance.  I'm not sure I'd have the energy to make dozens and dozens of these.  In fact, I was happy to pay the crafty woman who had perfected this treat.  I hope this idea encourages you to envision something beautiful next time you look at a pile of wood scraps that you thought were garbage!!

Friday, February 4, 2011

Picture Pocket

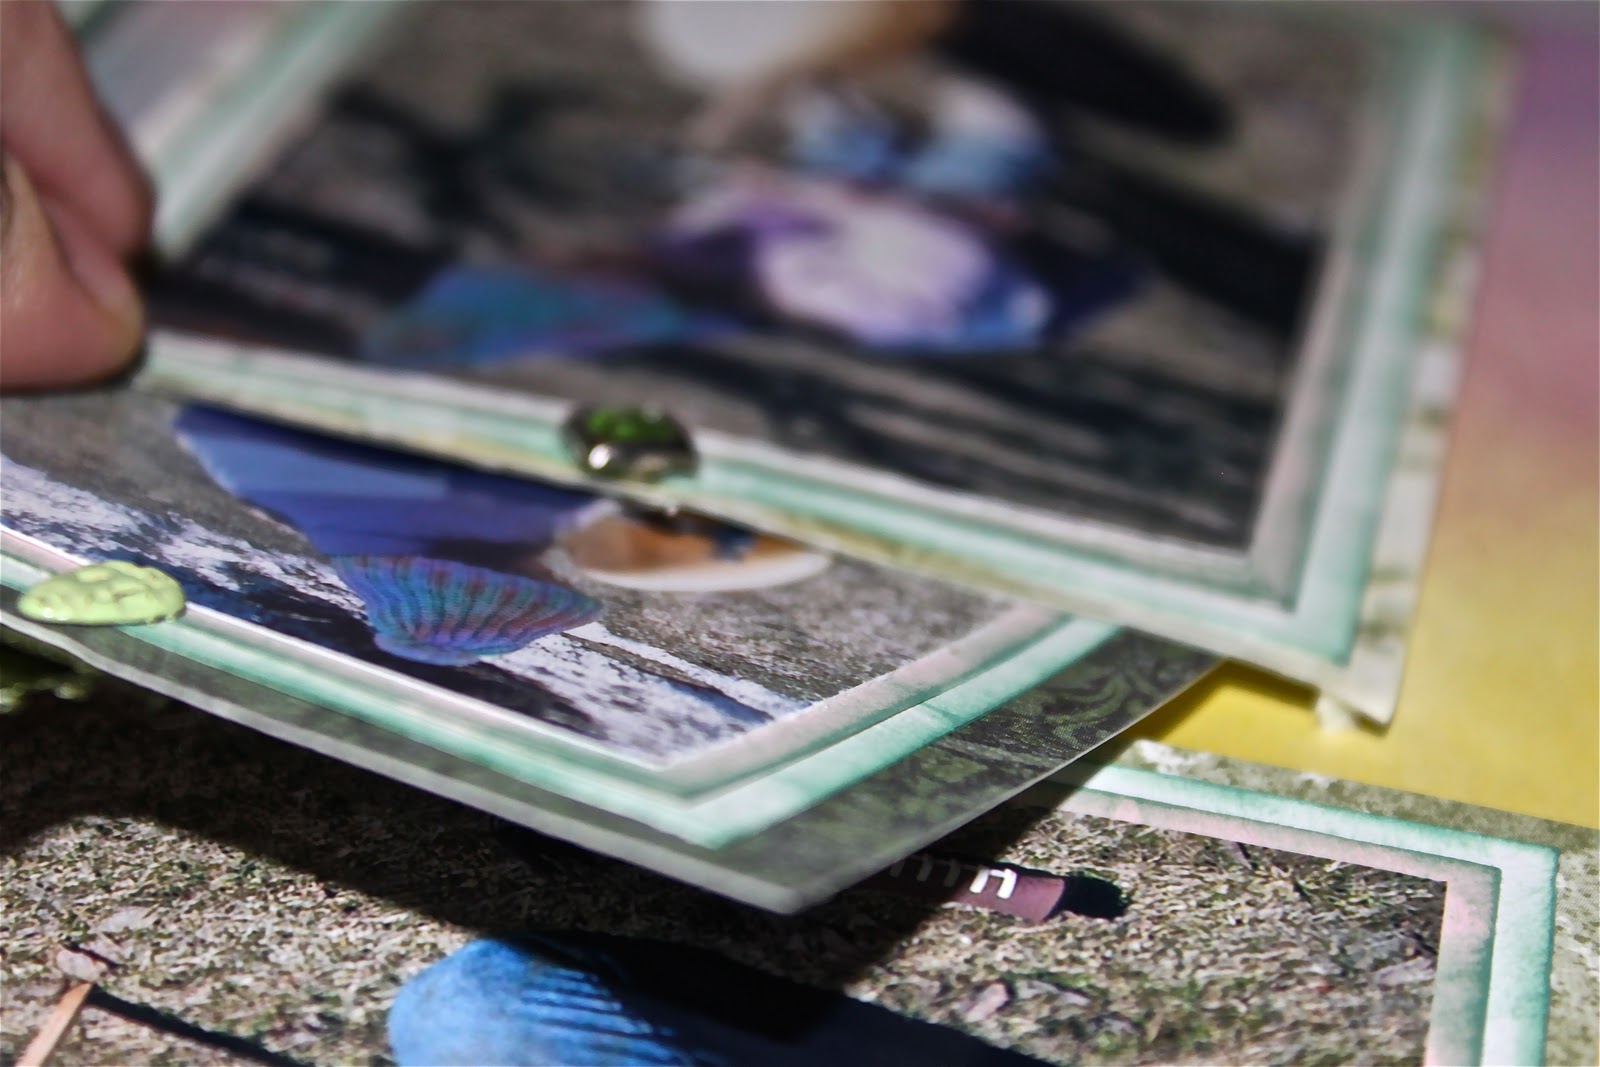
Time for another tip for your scrapbooking and this involves adding more pictures to your layout, without overcrowding it.  I showed you a scrapbook flip photo not long ago.  This time...the picture pocket.  It is SOOO easy.

Here's what you'll need:

2 or 3 photos (one needs to be larger than the others)
Foam tape
A tiny piece of ribbon
A brad
Decorative paper

Pick the picture you want to show on the layout.  This needs to be the largest of the pictures.  It will be the cover of your pocket.  Put your decorative paper behind the picture for a pretty border.  Instead of taping or gluing it directly to your background paper, line the outer edges with thick foam tape, leaving the top edge open...no foam tape there.  If you need a little lesson on foam tape, you can find it here.  We've blogged about that too!!  It really is a fun discovery if you've never used it.

Make sure your second picture is smaller, so it fits in the pocket of space created by the foam tape.  Attach a looped ribbon tag to the top of the smaller picture to use as a cute handle to pull the photo out of the pocket.  I use a cute brad to hold the ribbon in place.  Slip the smaller picture behind your cover photo.  Pull it in and out a few times to make sure it works smoothly.  You can certainly add more than one photo.  Then, have fun watching people discover your secret picture pocket.

Saturday, January 1, 2011

Happy New Year!

 2011 is going to be a year of growth, change, excitement and happiness for all of us here at Crafty Life and Style! I decided to Art Journal some of my goals for this year. I would love to share some of my extra special creations in an exclusive class this year. Finding a fun new class won't be that hard- in fact I have my eyes set on a class by one of our amazing Artist Spotlights! Then there are some personal improvement goals like improving my physical fitness and finding a better balance in life.

Putting goals down on paper- puts them out into the universe. It helps you to focus on your intention. Be sure to put your words on pretty paper or even better- art journal them like I did. That will make you want to look at them over and over again. Making goals manageable- like physical fitness as opposed to lose __ pounds- can also help those who get discouraged if they don't reach their "goal number". What do you have planned for yourself this year? I would love to hear from you.   

Friday, December 10, 2010

Dragon Lady

As promised...I'm sharing another of my scrapbook layouts for my China trip.
I put this together on a scrapbooking retreat I attended with Crafty Girl.  It is three straight days of scrapbooking and you keep yourself going with heat packs, chair massages, and pain reliever.  This is another do-it-yourself example.  I remembered a beautiful dragon boat on a lake in China and wanted to create something similar.  Giant dragon boat stickers aren't exactly easy to find.  So, I set out to make my own.  First I drew the outline on gold paper and cut it out, lifting some pieces to add depth.  Then, I created gold gills to put on top of the face and tail, using double-side foam tape to lift the layers.  You can read more about using foam tape in Saturday's post.
I used a little red flower as my fireball, cutting up the petals into fringe and layering a few on top of each other to make it into a little flat ball.

Working off the design of the paper I picked, I used black whispy fabric to add some texture on top of the hanging leaves already on the page...different lengths and blowing in different directions.  Finally, I added a little ink to the edges to give the dragon's skin some dimension.  It looked too pretty with the gold paper.  A little black ink around the edges made it seem more rough and real...in a scrapbooking sort of way.  I also added chain to the floor of the boat, like a metal railing....keeping my dragon lady safe on the shores of China.  Yes, it took quite awhile to make, but my DIY Dragon was so fun to create and I love going back to look at this page.