Monday, January 10, 2011

Photo Rewind


When my grandfather turned 80, the family decided to celebrate his long-term survival with a big party, complete with balloons, banners, and belly dancers.  That's how we roll.  The belly dancers were grandma's idea.  I won't even tell you what she considered first.  Anyway, the family knew from day one that they wanted me to make the invitations.  As soon as I saw an old black and white picture of grandpa in his military issued Daisy Duke inspired short-shorts....I knew I had my cover.

If you want to mark a milestone moment, rewind your mind.  Go through your albums and pick fun moments from the past for your invitations.  Not only did I have a great time seeing all of the old pictures of my pops, I took time to scan each photo so they would be preserved long after the original copies get lost or fall apart with the toll of time.

I didn't have much time, so the challenge was making something simple, but memorable.  I picked out a glossy and glittery brown paper for the card.  Be sure to get thick enough paper.  You want the card to hold shape on its own when someone holds it in their hand.  I measured the paper so that, once folded, it would be small enough to fit in the envelopes I bought.  Otherwise, you risk making a beautiful card that is way too big for any envelopes you can find in the store.  Also, postage for bigger mail is higher.  Small is fine and affordable.  I used my scrap paper to add a couple of strips as a border for the picture.  I   bought buttons as an embellishment where my strips meet.  Just cut off the bottom of the button so it lays flat.

I printed the time, location, and other details for the party on coordinating paper to put inside the card.  The corners of the paper are held in place by metal brads.  I added texture on the other side of the card by adding a strip of fun brown string next to a sweet portrait, labeled at the bottom with Grandpa's name.

Because I just couldn't choose two, I opted to add one more photo to the pack of my invitation.  Photos are a quick and easy way to produce a large volume of invitations and fill the space, while still giving people a thrill when they open the mail.  As you can imagine, my Grandpa's image as a young soldier in only shorts and boots was a hit with his long-time friends and the bellydancers.

Sunday, January 9, 2011

Shutterbug Sunday: Megapixels

Do megapixels matter?  I love taking pictures for my crafts.  But, I am an amateur nonetheless.  So, when I was considering buying my current Canon Rebel, I have to admit I was very impressed by the idea of owning a 15mp camera.  I'd never owned anything close to that.  It seemed important.

Ultimately, I was blown away by the quality of my pictures.  They seemed so clear and crisp.  I could get in closer to the subject.  I was inspired and became more creative.  Because I had no other means of measure, I quietly determined the megapixels must have played a role.  When I saw a new version of the rebel with 18mp at a cost of about $200 more than my current camera...I salivated.  Would that take my pictures to the next level? 

Then, a friend told me megapixels really only matter if you blow up pictures...BIG.  It is a great selling point for companies if the buyer is like many of us...crafters who just want to take better photos, but don't have formal training.  Turns out, megapixels may not matter that much, unless you are creating a billboard or unless you crop a lot.  Megapixels also take up more space in your storage. 

So, experts say, it may be cheaper to work on finding the right composition for your photo when you take it rather than trying to fix it after the fact.  I found this post on the NY Times helpful.  So, am I convinced?  Can I let go of the myth next time I buy?  I crop a lot.  But, if there is a major difference in price between the camera I want and one with lower megapixels, with no other differences, I think I'd save my money and spend it on a new scrapbooking tool.

Saturday, January 8, 2011

Magnets With Flare

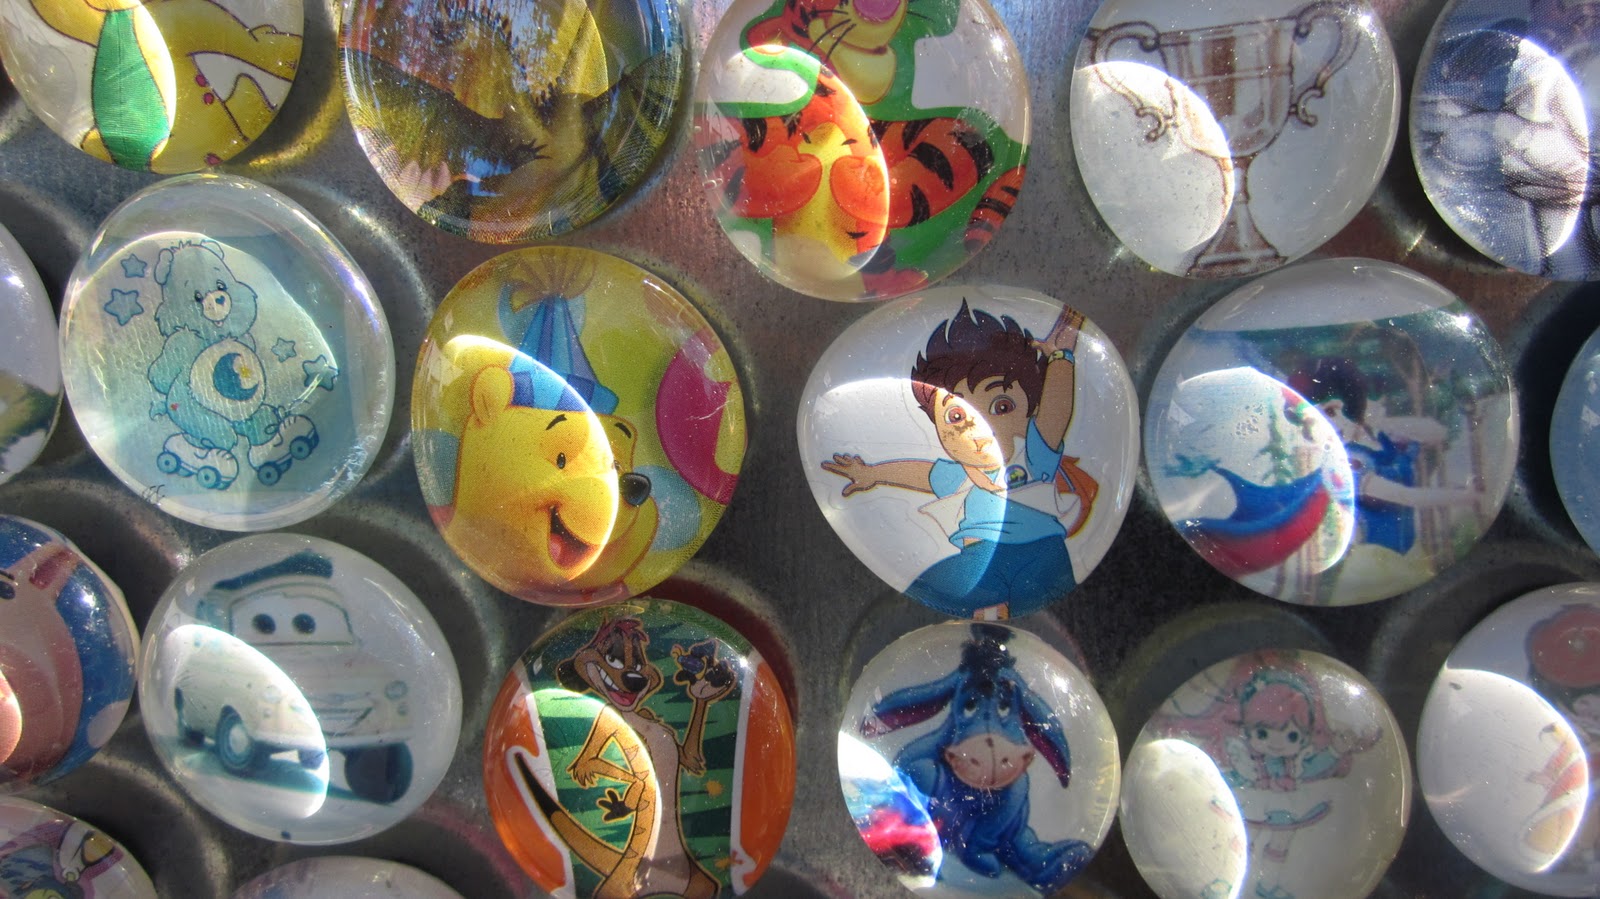
This fall when I went to the World's Largest Garage Sale I saw a booth that really stuck out to me because it was so original and quirky. The owner Felicia Savage called her business "Magnets With Flare" and all she sold were these little magnets! I discovered the woman was from Stillwater New York-- and this is what she made. Yes- she made all these little magnets the size of a quarter.
She had all sorts of magnets with any theme imaginable!You like panda bears? She's got one! You like Care Bears? She's got one! You need a trophy? Yep! There's one of those too! Are you in love with a Werewolf like we are? Yes- she has magnets for the Twilight Series fans too! It was crazy all the random photos she had all captured behind the little glass domes!
I mentioned it was amazing that she was able to find all these random photos to put inside the magnets and she just giggled at me and said she thought it was fun. I loved how cheerful she was about her creations and thought it was fun picking out some of my favorite ones to take pictures of.

If you're interested in finding your own special magnet- the owner doesn't have a website- but you can click here for her email.

Friday, January 7, 2011

Sassy Snowlady

Now this is what you call a cool snowlady.  We spend a lot of time talking about how to spice up the inside of your home here on Crafty Life and Style.  But what about crafty projects with the kids for the yard?  We know that is no easy task during the winter and Crafty Girl and I live in a place where there is a whole bunch of snow for months.  A friend of mine built this with his little girl recently and I just had to share it with you.  I just love how he (A GUY!!) really thought about every accessory, from the flowers for her hair, leaves for her eyebrows, and a pine scarf!!!  Plus, he has a little girl so he built a snowgirl.  Why do they always have to be snowmen?  Hands down, this has to be the best snowperson in the neighborhood...made patiently by a dad and his daughter.  Crafty.
P.S.  If you have an exceptional snowperson in your yard, share a picture with me, CraftycatMDI@gmail.com.  Maybe we will share it with our readers to offer ideas for the next big storm.  To our readers in warmer regions....sorry....but enjoy the sunshine!!

Thursday, January 6, 2011

Craft Shopping

This is a typical day for Crafty Girl and I inside of a craft store.  We've shared our delirium before on this blog.  But, we really just can't help ourselves when we find a brand new crafty place to shop.  We seek them out when we have trips out of town.  When we get to take those trips together...it is ridiculous...bordering on embarrassing.  We forget any stress in our lives for this one hour.  Our mood changes in an instant.  We have smiles sewn on to our heads.  Immediately we get giddy, running through the aisles, looking for the clearance section, goofing around with fun things we find.  What must the other shoppers think?  How come we don't run into other people posing like this for their cameras?  Doesn't everyone feel this way in a new craft store?  Is it just us?  Send us your fun shopping pictures...CraftycatMDI@gmail.com....and tell us about your favorite stores in any part of the country and why that store is so great for crafty folk.  We can let readers know about these hotspots for their travels.

Wednesday, January 5, 2011

Rug Hooking Circa The 70s

 Rug hooking is the process of pulling yarn through a stiff woven base such as burlap. The loops are pulled through the backing material using a latch hook mounted in a wooden handle for leverage. It was very popular during the 70's- especially in my house. These are actual rugs made by my Grandfather Joseph D. Coviello (1921-1979).

Poppie served in WW2 and was a handsome man the likes of Errol Flynn. By the time I knew him as his first born grandchild he was a loving old man who liked to do the Tennessee Waltz with me. He had a full head of  Italian hair and big streaks of grey (that I later learned he would pass down to me!). He putzed around the house gardening and the such. I don't know if it's just because I lived in his house or that it's fact- but I feel like I remember him working on these pieces of art. I somehow see him sitting with all the pieces of fabric strewn across a table and the hook going in and out of the rug. He titled the above picture Sunrise. I'm not exactly sure why but I enjoy the geometric shapes of it. 
 The picture directly above is called the Three Musicians. It's a copy of a Picasso by the same name. I can't believe how detailed and determined he was to get every aspect of the painting in a rug. It must have taken him hours.
 I feel like this is a dying art. I did a google search to learn more about it. I learned there's a Rug Hooking Magazine. I also found some supplies can still be purchased in your larger craft retailers. When it comes to creating these pieces of art, though, I don't see any new techniques or designs- mostly 70's style designs, kitty cats and rainbows that you can make-which are pretty cool too. For me these are beautiful pieces of art. Obviously, they do come with a history- and that's why I love them and now display them with pride. What art projects do you remember from your childhood? Did your Poppie do rug hooking too? I'd love to hear your childhood crafting memory.

Tuesday, January 4, 2011

Tasty Tuesday: Oven Roasted Prime Rib


This is a recipe that is easy but the taste will blow you away!!!!

1 Onion Rough Chop
2 Stalks of Celery Rough Chop
3 Large Carrots (unpeeled) Rough Chop
7-8 Lbs of  Prime Rib with the Bones (ask your butcher to remove bones and tie them back on with twine this is important for flavor)
6 Tbs of kosher Salt
3 Tbs of black Pepper
2 Tbs of Granulated Garlic
2 tsp of Cumin
2 tsp of Dried Thyme
2 tsp of Dried Basil
4 Tbs of Paprika
1/2 Cup of Olive Oil
You will need temperature gauge for this recipe (do not guess on internal temperature)

Preheat oven to 375 degrees
Start by mixing all the spices together and add the Olive Oil to make a wet rub.
Rinse Prime Rib with water and pat dry.
Use all the we rub and make sure all sides, top and bottom of the Prime Rib is covered.
Place Carrots, Onion and Celery in the bottom of a roasting pan
Put the seasoned Prime Rib on top of the cut vegetables.
Cover the pan with a lid or tin foil.
Place in oven and set time for 1 hour.
After 1 hour reduce heat to 300 degrees, uncover and cook until the prime rib reaches an internal temperature of 125 degrees (for Medium Rare) 135 for medium and 145 for medium well. The meat will start to brown on top if it starts to get too dark loosely cover with tin foil and continue to cook.
After Prime Rib has reached your target temperature remove from oven and allow it to rest for 30 minutes on top of the stove or counter top. This step is important because it allows the juices to settle and the meat will continue to cook as it sets.
Remove twine and lift Prime Rib off the bones and slice to desired thickness.
Serve with Mashed Potatoes and a vegetable of you choice.

Monday, January 3, 2011

Ribbon Rack


As I delved more into using ribbon in my scrapbooking, I created beautiful layouts and a serious dilemma.  I became a ribbon addict. 

I had nowhere to put all of that ribbon.  When I tried to peruse through dozens of designs, I couldn't find what I wanted because things just weren't organized.  I had plastic bags full of various sizes and colors and I simply lost track of what I had.  So, as we all do, I went out and bought more.  Finally, I had a vision.  If I just knew what I had in my craft nook, I would use that, instead of buying new ribbon everytime I started a project.  I wanted a ribbon rack.  That way I could even color coordinate!!  Dreamy.  I put my father to work pronto!!

Dad did a great job creating my vision.  If you decide to give it a go.  Here are some things to keep in mind.  Give yourself enough room between dowels to store spools of all sizes (see my project for storing really small ribbons spools by clicking here). Simply drill large holes on each side of your frame to slip either end of your dowel through so you can take it out to add more ribbon.  Once your ribbon is on, you don't need to remove the dowels...just pull down the length of ribbon you need and cut.  Remember to color coordinate.  I also used one row for holiday ribbon.  Organizing everything was the best part.  Be sure to leave enough space on the top frame to attach hanging hardware.  Once you hang this baby up, you won't be able to stop looking at it.  Your masterpiece will become part of your art in your craft office.

Finally, there are different ways to put your mark on the ribbon rack.  My father added some fancy trim to the lighter oak model.  I asked him to keep the darker one simple so I could modge-podge the sides and create a fun gift.  As you can see in the picture above I added the wooden letters "Create" to the top with modge-podged flowers all over it.  Then, I added initials on the side...same decoration.  I covered much of the frame with pretty paper and added some glitter glue and a few flowers.  Let's just say my crafty friend was in love with her gift immediately.  By the way...the whole idea that I would not buy so much ribbon if I was organized enough to know what I had around the house...that didn't work.  Once I got this ribbon rack.  I just wanted to fill it up with more ribbon.

Sunday, January 2, 2011

Shutterbug Sunday: Display Your Pictures

Today we have a guest blog from Melissa of Shields Fine Art Photography. Melissa is based in Topeka Kansas. Currently she and her husband focus on art photography but they are also branching out into portrait and event photography. We know you will enjoy her tip today!

First off, I have to say thank you, thank you, thank you to everyone here at Crafty Life and Style for asking me to write this post.  I fancy myself some great photographer, but really I'm just like the rest of you.  The tip I want to share today is what to do after we push that button.  We've captured that moment in time and now what?
The first thing to do is get it off that card.  Cards fail and if your card fails then you've lost all those pictures.  I double store my photos.  I have two external hard drives.  There are two copies of each photo on each one of my hard drives.  I also have a pro flickr.com that I am trying to upload all of my photos to just in case something happens to the hard drives.  (You can check them out here.)  I've heard of people who use jump drives.  Each time they clear their card, they put it on a jump drive and file the drive away.  You can put them on CD.  The main thing is to have them somewhere else just in case your card fails.

Now you have to share them.  What fun is it to take a great picture and then not show it to anyone? I was sharing a lot on Facebook but it took so much time to downsize them and that's one of the reasons I started the flickr account.  But that doesn't spruce up my home any.  I'm going to share a little secret just between us OK?  I have picture frames in my house still with the fake family pictures in them.  How lame is that?  I know it's really bad especially since I take photographs as a second job.  But I'll share what's on my wall, what's ready to be hung and what's going to the printers to get hung.
This one hangs above my husband's computer area.  It's his best buddy Gabe.  It was a Christmas present a few years ago.
This one is going in my craft/office room when it's done being remodeled.  It's currently in a closest.  This one is special because it's the first photograph that hung in an art gallery.
This one just got back from the printer.  Not sure where or what is going to happen with it but at least it is printed.
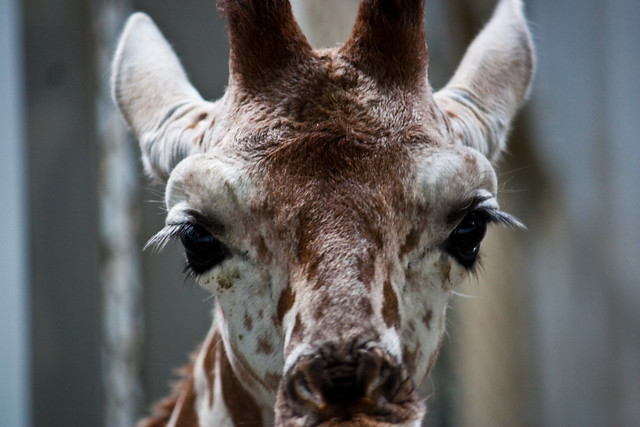
I donated this one to the zoo for a fundraiser and it's getting reprinted for my office.  I want to line those walls with special photographs.
Now get out there and take some great shots and share them.  Decorate your home with them.  It's a cheap way to bring some color into a room.
About Melissa-
Melissa loves her camera and her friends have joked that the camera is just part of her body.  She started her passion for photography as a child in 4-H.  She blogs about her pictures and her husband's photography, photography in general, and photography tools at Shields Photography.

Saturday, January 1, 2011

Happy New Year!

 2011 is going to be a year of growth, change, excitement and happiness for all of us here at Crafty Life and Style! I decided to Art Journal some of my goals for this year. I would love to share some of my extra special creations in an exclusive class this year. Finding a fun new class won't be that hard- in fact I have my eyes set on a class by one of our amazing Artist Spotlights! Then there are some personal improvement goals like improving my physical fitness and finding a better balance in life.

Putting goals down on paper- puts them out into the universe. It helps you to focus on your intention. Be sure to put your words on pretty paper or even better- art journal them like I did. That will make you want to look at them over and over again. Making goals manageable- like physical fitness as opposed to lose __ pounds- can also help those who get discouraged if they don't reach their "goal number". What do you have planned for yourself this year? I would love to hear from you.