Those small rocks at the bottom of a fish tank suddenly popped into my mind while I was driving home from work over the weekend. Not the bright colored blue and aqua green rocks, but the natural brown, black, and white ones.
I imagined them in my mind...framing a photo of myself on a beach in Monaco. The beaches there have pebbles instead of sand. The idea seemed to make the picture 3-dimensional in my imagination...with the tiny rocks popping off the glossy paper and landing on the frame. Before I arrived home, I found myself scouring the aisles of a dollar store. I found a bag of rocks, larger than I'd hoped for, but in the price range I required...$1. Nearby, 2-for-1 wooden frames, and some floral moss called my name. I suddenly had plans for two nature frames for a total of just over $3. Now, I had to make this image in my mind come to life...the beauty of creating!!

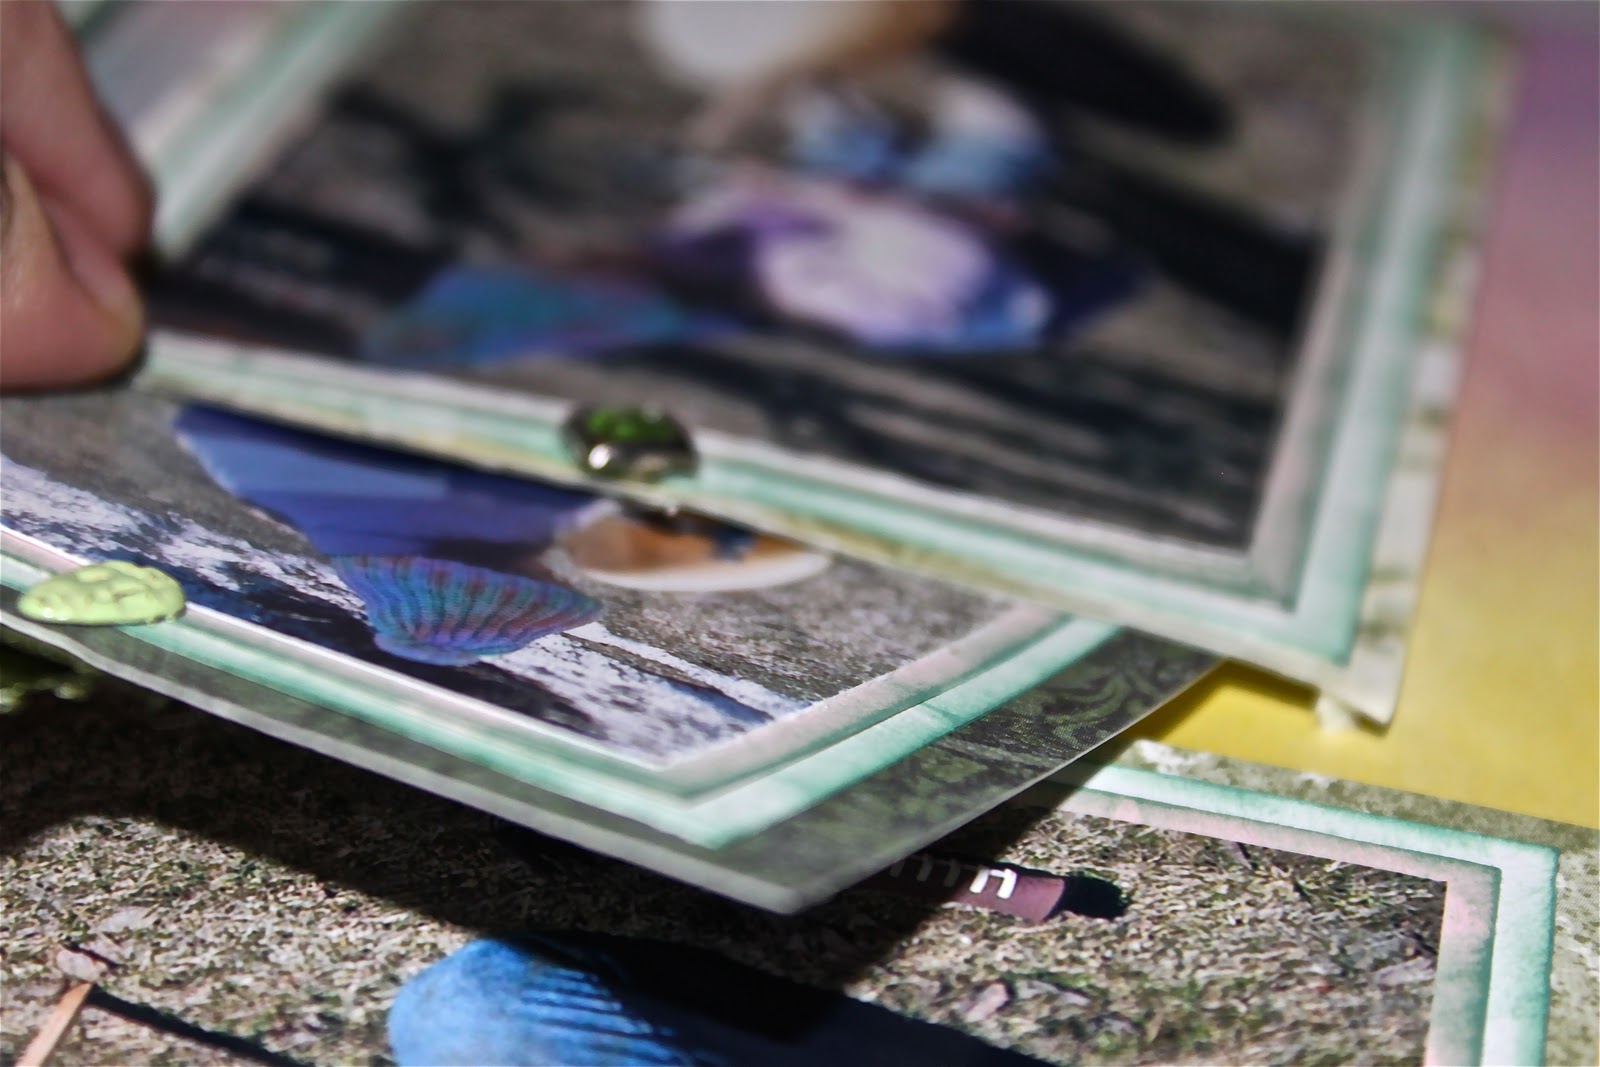
For the rock frame I would suggest a strong gel adhesive like a glue gun. You need a gel because it helps you ease the rocks into position...just make sure it will dry clear. This project is as easy as placing the rocks on the frame one at a time, letting some slip over the edge to cover the wood and make it interesting. Just make sure your bottom is even if you are placing the frame on a flat surface. Nothing to it. For the moss frame, I bought a room temperature gel adhesive so I could press down on the moss until it held, without burning my fingers. Then, I sprayed it with hair spray to try to keep the pieces connected in place. You can certainly add embellishments...the moss frame calls for a little bird in the corner...whatever fits your style. The nature frames gave my pictures more character and they look lovely on my shelf. Of course, the fact that I planned to share this project on my blog resulted in the immediate elimination of my bikini photo. I'm crafty, not crazy.