Time for another tip for your scrapbooking and this involves adding more pictures to your layout, without overcrowding it. I showed you a
scrapbook flip photo not long ago. This time...the picture pocket. It is SOOO easy.
Here's what you'll need:
2 or 3 photos (one needs to be larger than the others)
Foam tape
A tiny piece of ribbon
A brad
Decorative paper
Pick the picture you want to show on the layout. This needs to be the largest of the pictures. It will be the cover of your pocket. Put your decorative paper behind the picture for a pretty border. Instead of taping or gluing it directly to your background paper, line the outer edges with thick foam tape, leaving the top edge open...no foam tape there. If you need a little lesson on foam tape, you can find it
here. We've blogged about that too!! It really is a fun discovery if you've never used it.
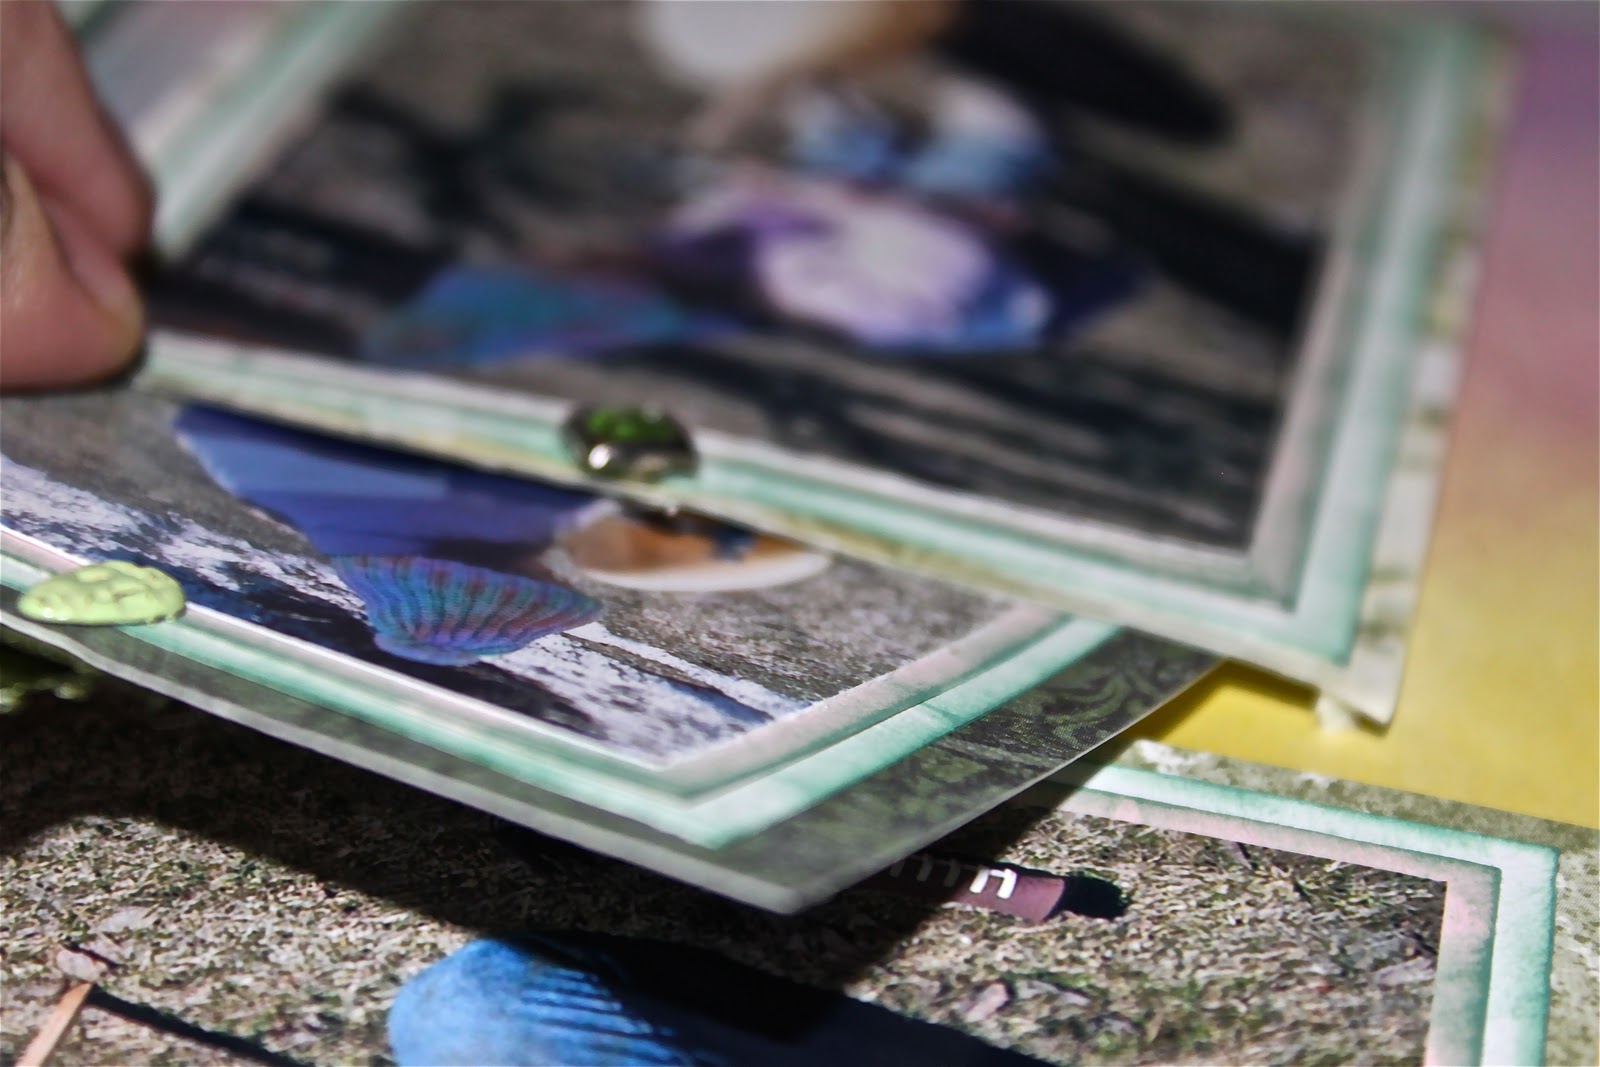
Make sure your second picture is smaller, so it fits in the pocket of space created by the foam tape. Attach a looped ribbon tag to the top of the smaller picture to use as a cute handle to pull the photo out of the pocket. I use a cute brad to hold the ribbon in place. Slip the smaller picture behind your cover photo. Pull it in and out a few times to make sure it works smoothly. You can certainly add more than one photo. Then, have fun watching people discover your secret picture pocket.


This is super cute. I am envious...by the time I drag out the scrapbooking stuff and am whipped and just want to take a nap.
ReplyDeleteTrust me...we are exhausted too. That's why we like weekend retreats where you can scrap all night, leave your stuff out, go sleep, eat, get a chair massage, and go back to your station again for a few days.
ReplyDeleteoooh I like! They need the ol' thumbs up from facebook on here.
ReplyDeletehttp://melissa-thatgirl.blogspot.com/